Reaching ALL students is one of the biggest challenges as a teacher. We all want our kiddos to learn and progress taking into account their individual needs. But how do we differentiate learning without spending hours and hours planning?
The answer is easy… with choice boards!
Creating choice boards is a simple and creative solution that I implemented with my 5th graders and… It was a game-changer! Keep reading to know how I use choice boards to differentiate learning in my classroom… and get a FREE one for you!
What are choice boards?
A choice board is a series of activities presented to the students in the form of choices using paper or a digital platform. Students complete each task and submit their evidence of work following the instructions on the activity.
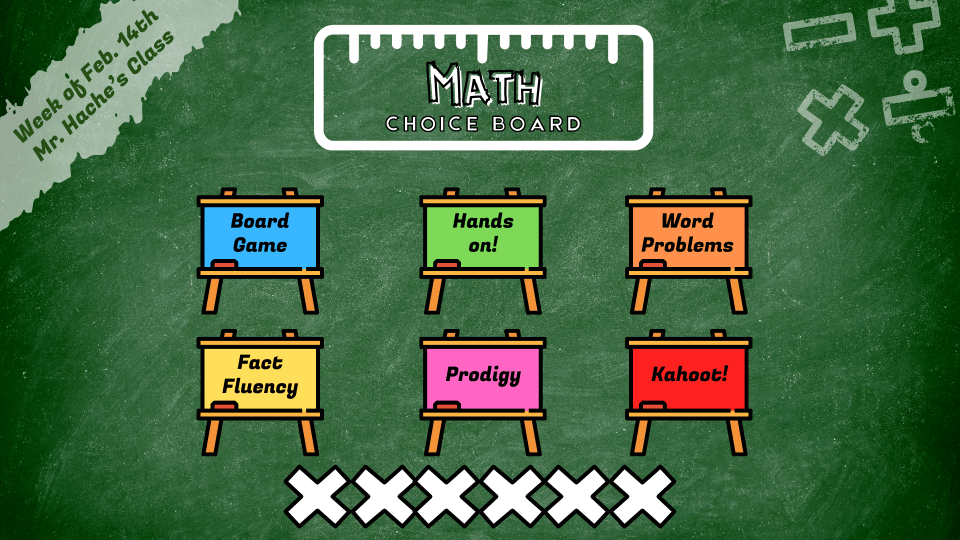
In this post, I am focusing on digital choice boards using Google Slides. Paper choice boards (aka menu choice boards) are a great tool as well. However, digital ones bring more benefits and options to our students and teachers.
As you can see in the picture, students have all choices in the Google Slides file. Clicking one activity will take them to a specific slide with the must do and the exit ticket instructions. I also use that slide to include extra information about that choice: time, voice level, links to other platforms…
Benefits of using digital choice boards
There are many positive aspects when implementing digital choice boards in the classroom. In this post, I am going to highlight these five:
- Boost engagement
- Improve time management
- More flexibility
- Help the environment
- And the most important one… you will reach ALL learners!
Boost engagement
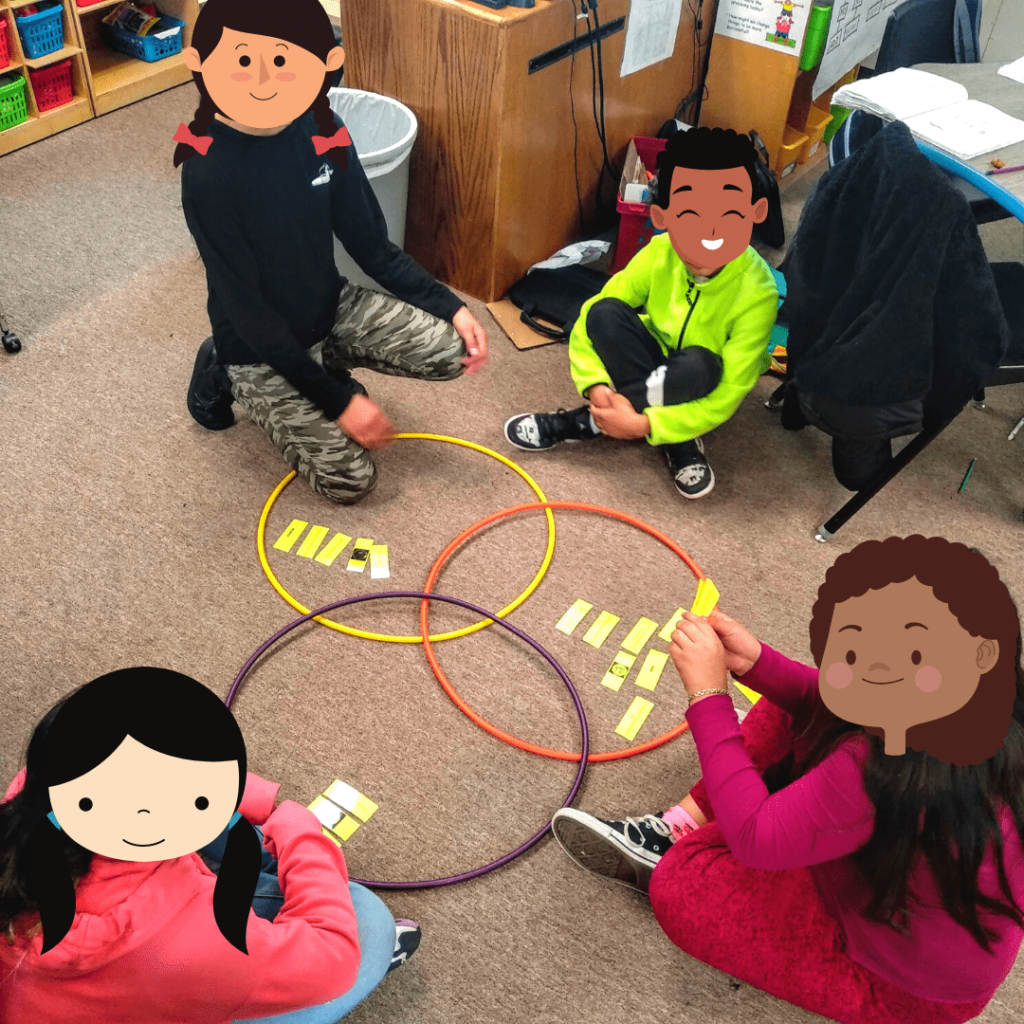
For me, it was game-changing! And it was the simple fact of choosing! Children are more engaged when they can choose what to do, making them accountable for their learning. This also helps them discover what motivates them.
It is not the TEACHER telling them what to do. It’s THEM deciding what to learn.
Matt Miller explains this in his fantastic book “Ditch that textbook”.
“For decades, students have been stuck in the “do what I’m told” mentality. One way you can empower your students to free themselves from the limiting “do what I’m told” mindset is to introduce digital tools that cater their unique passions and interests”.
Using digital choice boards allows me to introduce those tools and interests among the activities. A unique way to engage, motivate and make them responsible for their own learning.
Improves time management
During small group instruction, I used to organize my class with workstations: timed rotations, must do, may do, exit tickets… I felt that my Guided Reading and Guided Math time was too rigid. So did my students.
We needed more flexibility.
So, I created digital choice boards! Now, my kiddos have the freedom to choose what they want to work on. And I dedicate the necessary time to each student or team during Guided Reading and Guided Math instruction. No need to rush!
Flexibility
I love digital choice boards because they can be adapted to different situations.
- Any grade level
- Any subject
- Distance learning with Zoom or Google Meet.
- In-person education
- Homeschool
Just think about your class and tweak your choice board based on their needs, interests and learning situation.
Digital means paperless

Digital choice boards are environmentally friendly: no need to make dozens of copies every week! All activities are presented on Google Slides, which shows clear instructions for each task.
Besides, my students submit their exit tickets through SeeSaw. This allows me to see their work from my computer in the classroom or at home. I no longer carry heavy piles of journals home!
Obviously, I have some paper activities in my stations area: weekly passage, comic strip template, students’ journals… But I always think about a way to reduce my paper copies to the minimum.
How I reach ALL students with digital choice boards
In my opinion, digital choice boards are the greatest way to differentiate instruction. It offers the possibility to provide options based on students’ needs and other aspects like their passions and interests.
These are some things I take into account when creating digital choice boards for my students.
Use your data to group your students
For me, this is the first step. I use my data from district platforms (Istation, Imagine Math, Education Galaxy…) and assessments to group my students.
This will help me create 2-3 different choice boards. Although all of them will have common activities, I will add some activities to strengthen the content or skill that needs improvement. They could be…
- Reading comprehension
- Fluency
- Word problems
- Math facts
- Science vocabulary
- ESL support
As you can see in the pictures, I created two different boards for two different groups of kids. There are common activities and, also, specific ones for each group.
The first one has more technology options. In the second one, I included more small group choices and substituted the prefixes activity for one about synonyms and antonyms.

Use different types of materials and resources
Digital does not mean doing everything with a computer. Activities in your choice boards should include different types of materials and resources. For example:
- Manipulatives
- Board games
- Books
- Class quiz games (These are my favorite five!)
- Magazines
- Computer programs
- Journals
Take into account learning styles and multiple intelligences
Not all students learn in the same way, so I like to provide different types of activities to reach all styles and intelligences.
- Linguistic
- Logical-mathematical
- Spatial
- Bodily-Kinesthetic
- Musical
- Interpersonal
- Intrapersonal
- Naturalist
As I mentioned before, providing students a variety of choices will empower them to find their passions and motivations.
Alternate individual and teamwork
As you can see in the picture, I always state if the activity should be done individually, in pairs or in teams. This respects the social aspect of choice boards: students will decide the type of work they want to perform, based on how they feel that day.
Ask for diverse ways to prove their learning
I always ask my students to send all exit tickets through SeeSaw. This platform provides many ways to submit work. So, I use them to create creative ways of proving their learning, that also align with their learning styles. Some example are these:
- Draw pictures
- Record themselves
- Rap
- Write a tweet
- Complete a template given
How to create digital choice boards with Google Slides
OK, you read this blog post (or you scrolled down :P) and you want to give digital choice boards a try. Where do you start?
To begin with, you should create a simple digital choice board (4-6 activities) and test it with your class. Below, there is a Youtube tutorial that will help you with this first task (or you can keep scrolling down and get the freebie!).
Now, if you have no time to create your own choice board from scratch, I am bringing you a cool FREEBIE! A digital choice board template for Google Slides! Fill the form below and download your free copy of this template!
I hope this gets you started with choice boards in your classes! However, if you want more designs and choice boards with more options, check our paid digital choice boards in The Bilingual Plaza TPT Store!
- READING Digital Choice Board Template
- MATH Digital Choice Board Template
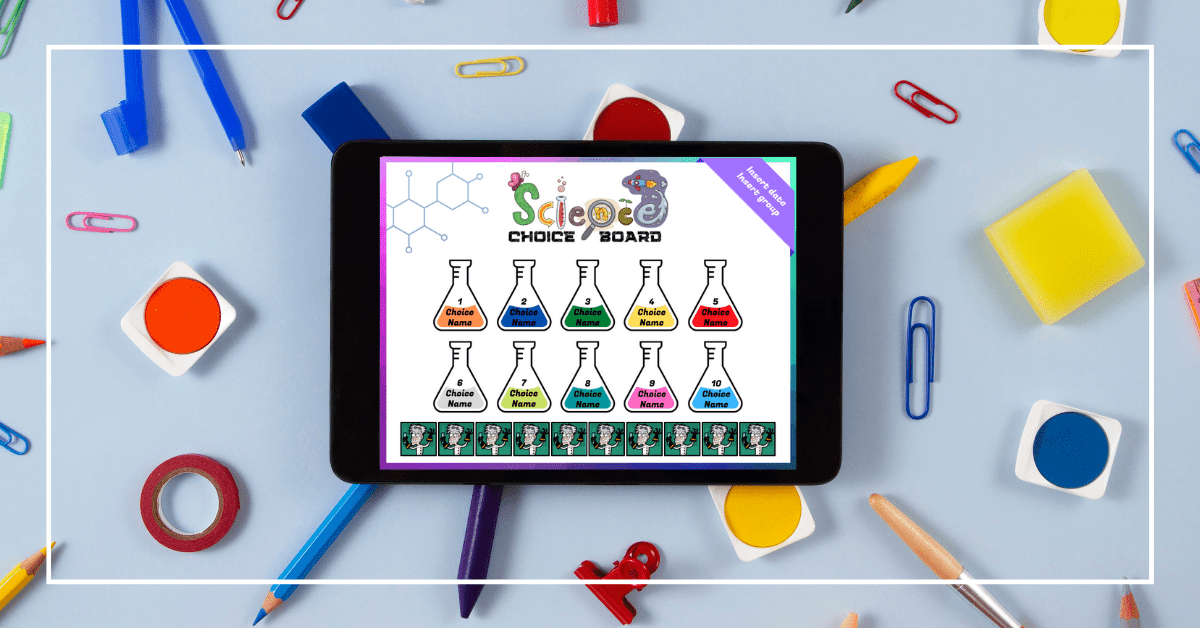
- SCIENCE Digital Choice Board Template
Conclusion about digital choice boards
Differentiating our instructions is one of the biggest challenges for teachers. We’ve seen how digital choice boards provide a creative and engaging solution to this. Reaching ALL learners in our classrooms is absolutely possible!
Now it’s your turn. Are you using digital or paper choice boards in your class? What do you like about them? What are you struggling with when differentiating your instruction? Let me hear from you in the comments below!



0 Comments
Trackbacks/Pingbacks